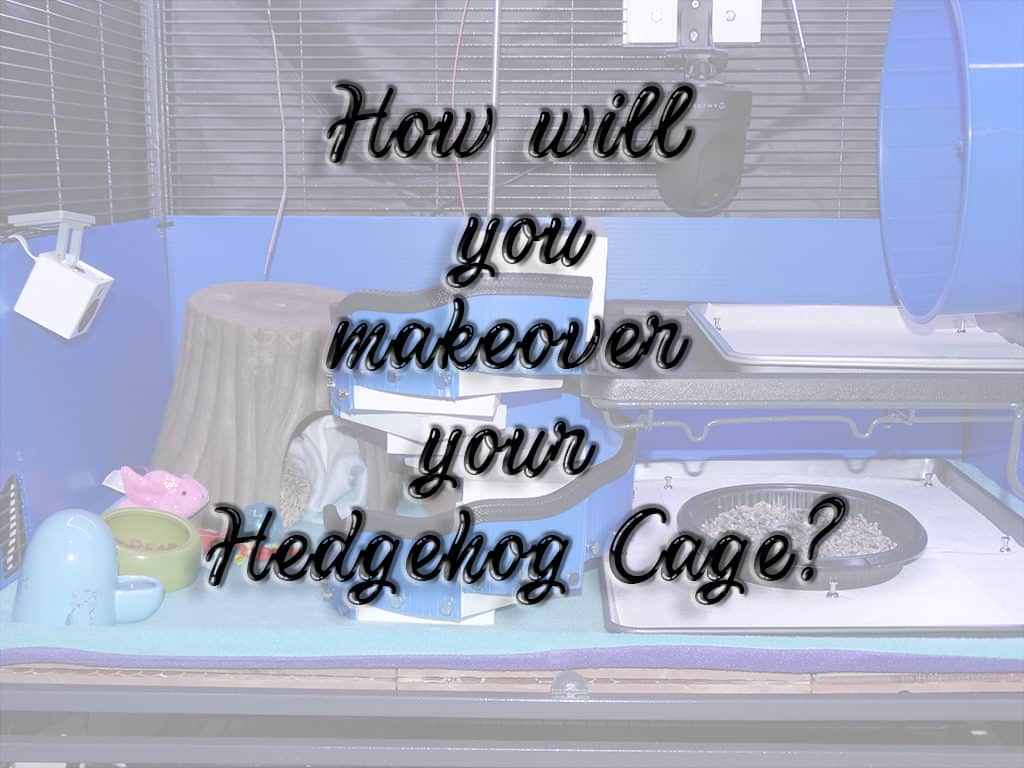
We thought we would share our Critter Nation hedgehog cage makeover with all our loyal readers. After all, if you've purchased the Cadillac of hedgehog cages, you might as well go all out to make a castle for your beloved hedgehog. This article won't be like most of our articles. This one is intended to help you see the possibilities with lots and lots of pictures. We'll be giving you all the details of what we did with Quilly's hedgehog cage and why.
AFFILIATE DISCLOSURE: Heavenly Hedgies is an Amazon Associate. We have partnered with them and other reputable merchants when they sell something that we feel will benefit our readers. By purchasing through our links, we may earn a small commission on sales, that helps us continue to provide informative and educational information for hedgie lovers. And the best part is that there is no additional cost to you. Thank you for being a loyal and supportive reader here at Heavenly Hedgies.

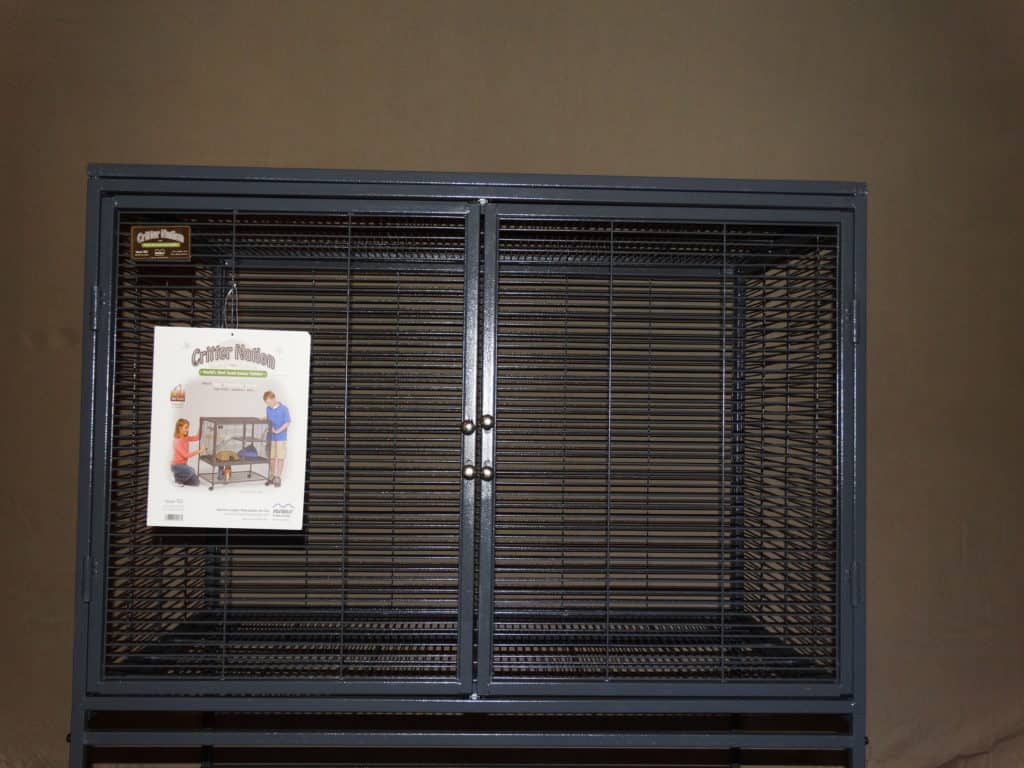
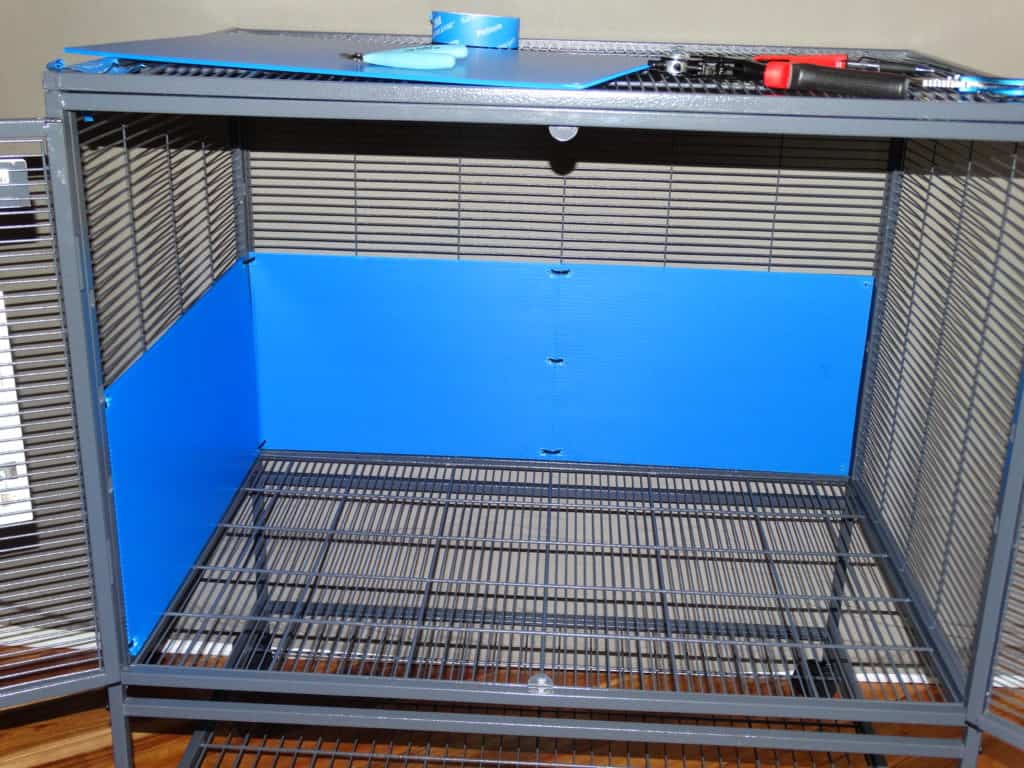
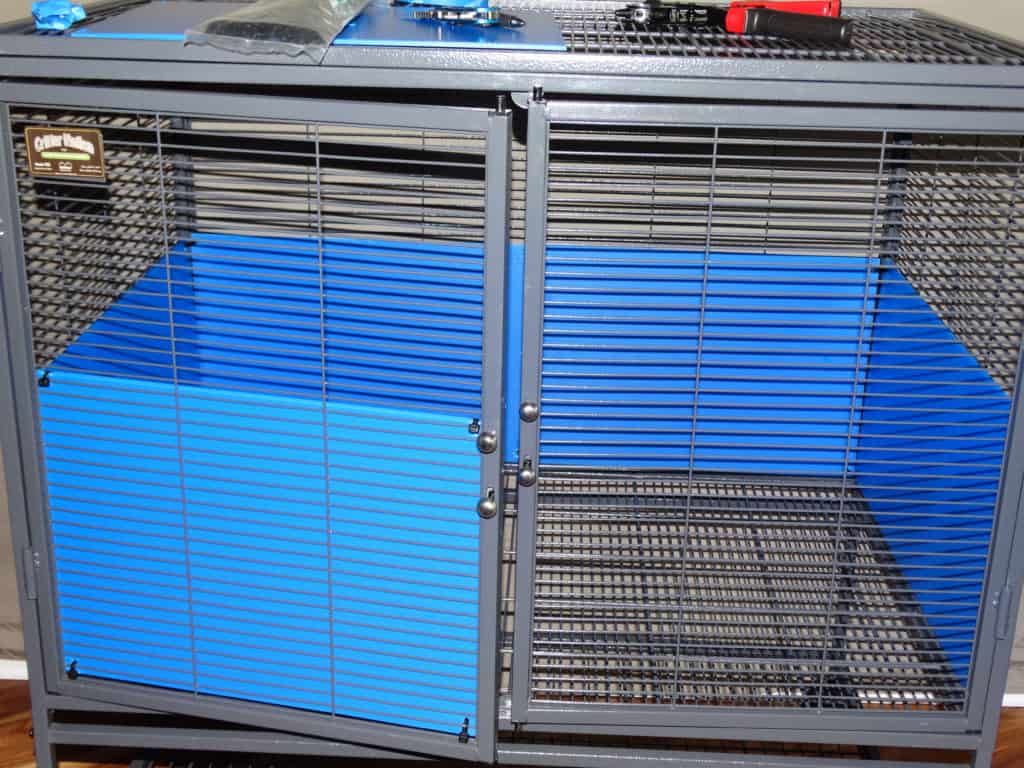
This is the basic Critter Nation cage for your hedgehog, before any upfits or transformations. Even without a makeover, it's a fantastic cage with lots of room for your hog to roam. The double doors provide easy access for getting your quill-baby out. They also make cleaning super easy. This is especially true due to the removable bottom tray.
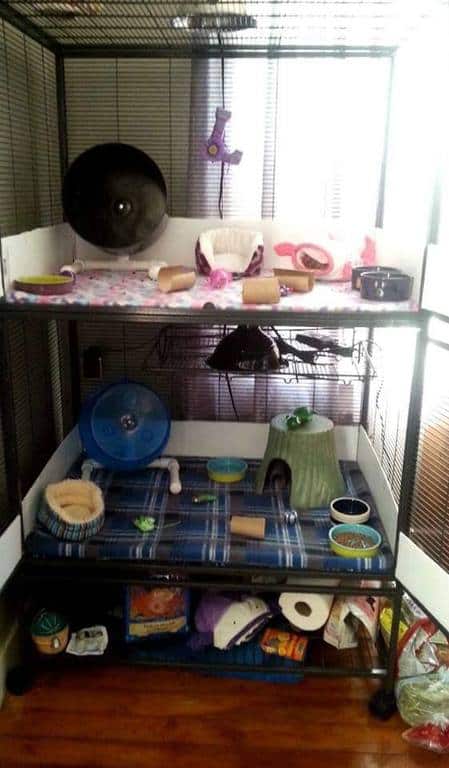
How Most People Set Up their Hedgie Cage
The Critter Nation cage comes in a one and two-story version. Our makeover involves a one-story version. This picture is the two-story cage set up for two hedgehogs. As you can see in the lower floor, the ladder is not used and the upper level plastic tray support is being used for a CHE (Ceramic Heat Emitter) lamp.
Most people use that level for that very purpose. It makes practical use of the upper level to keep the heat lamp from being too close to your hedgehog.
A CHE heating system is a very simple and relatively inexpensive system to set up. For that reason, we recommended it in our article, The Best Hedgehog Cage Heater System. New hedgehog owners will find it less intimidating than any other system. However, it's honestly not the most economical in terms of energy costs.
Heating pad systems are more expensive to set up, less costly to run, and provide you with more space options when used with the Critter Nation as a hedgehog cage. Later in this article, we'll be showing you the heat system we chose for our hedgehog cage makeover, why it's perfectly safe, and how it can be better than using a CHE system.
Starting Quilly's Hedgehog Cage From Scratch
When we unboxed the Critter Nation cage we purchased from Amazon, we made sure that all the parts were present and accounted for. Most of the cage can be assembled by one person, but two makes it go much faster. There are certain points of the assembly that required a second pair of hands to line up parts in case you're assembling your hedgehog's cage by yourself. Quilly certainly wasn't very happy with the ruckus, but he sure liked the outcome!

Making It Safe From Climbing
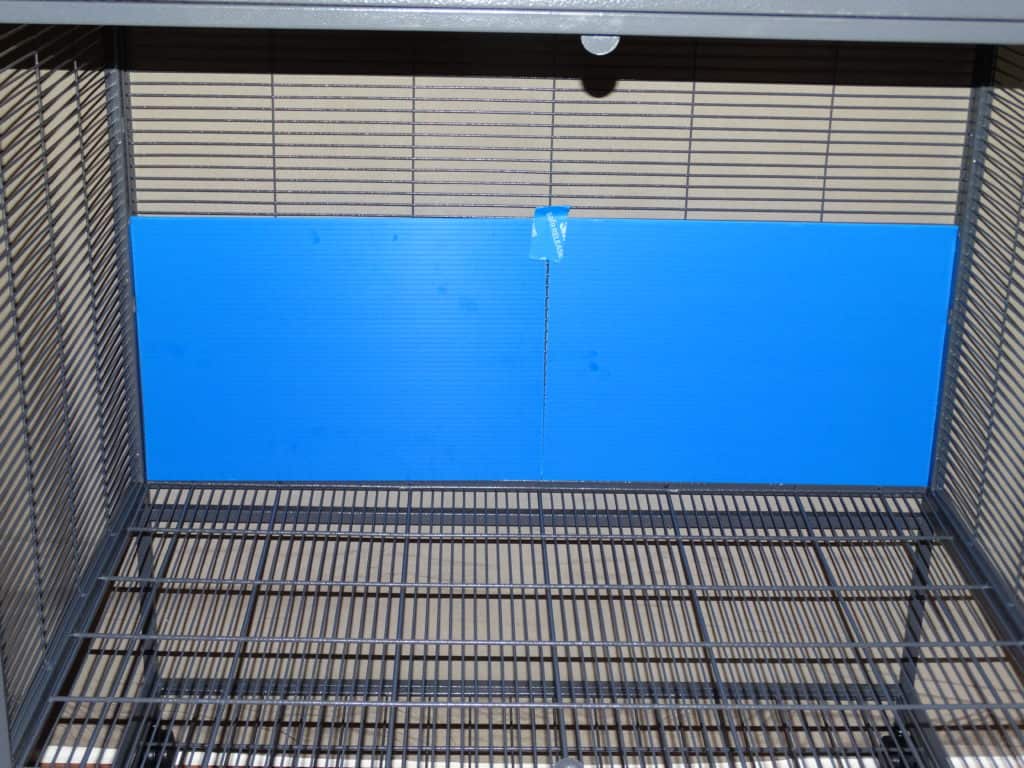
The next thing we did was make it safe from climbing. While Quilly isn't a climber, and not every hedgehog is, we weren't taking any chances. Quilly didn't used to be a digger either, but that has changed. So his desire to climb may change at some point too. We purchased the Coroplast from Corrugated Plastics because it came in a more manageable size per sheet. However, many people in the hedgehog community buy from Guinea Pig Cages store. We can tell you that the price per square foot was cheaper from Guinea Pig Cages, but not by much. We opted for the ease of handling and a wider variety of colors.
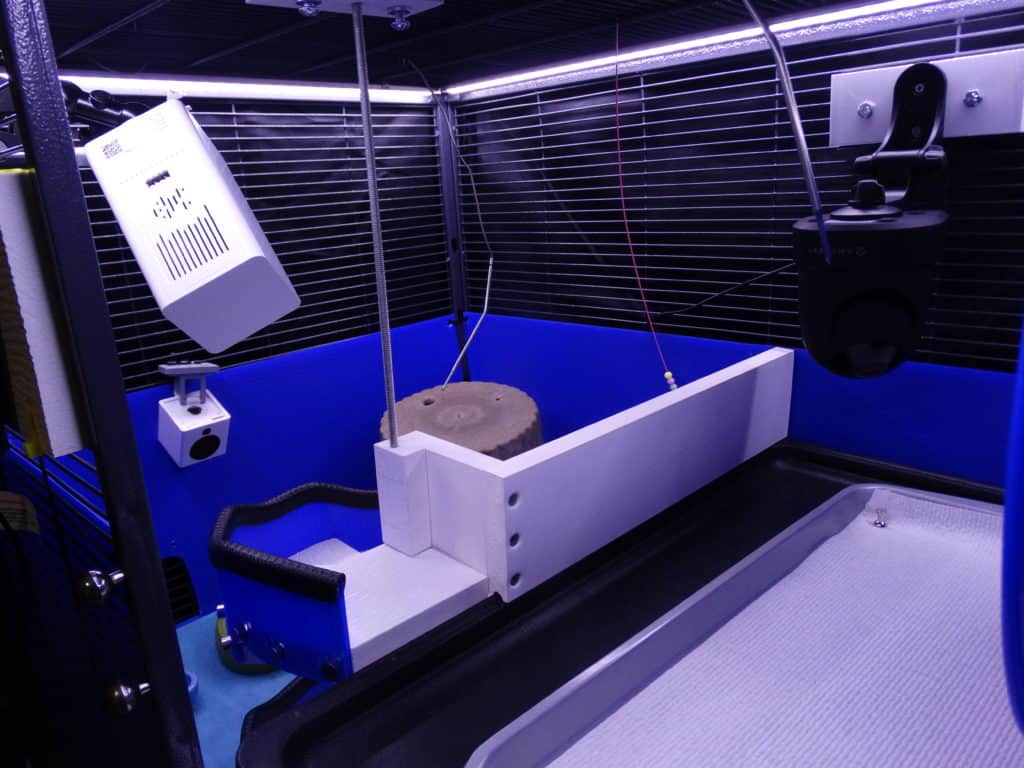
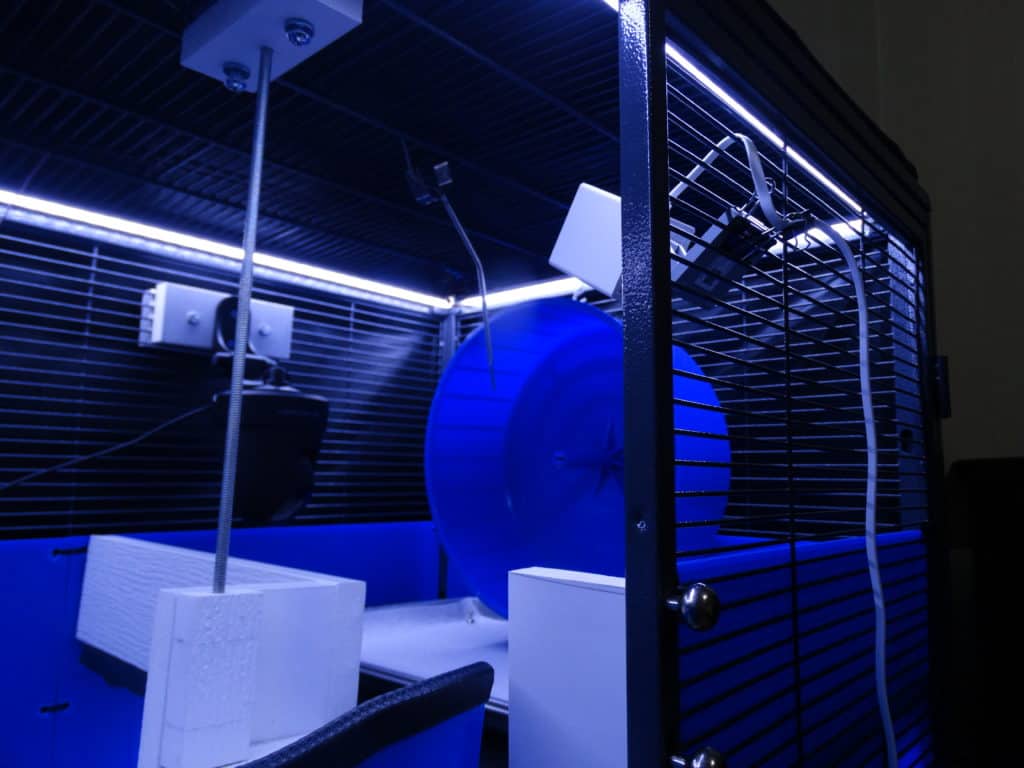
One thing you'll notice is that we made the 12-inch Coroplast walls unnecessarily tall by a couple of inches. We didn't see the point in trimming them down since we would have a camera system to view our precious Quilly at any time. The corrugated plastic can be attached using what is called “wire ties” or “cable ties“. The easiest way to get a clean round hole is with a soldering iron. But be forewarned, the fumes from melting plastic are noxious and this should be done outside.

Installing A Hedgehog Cage Heating System
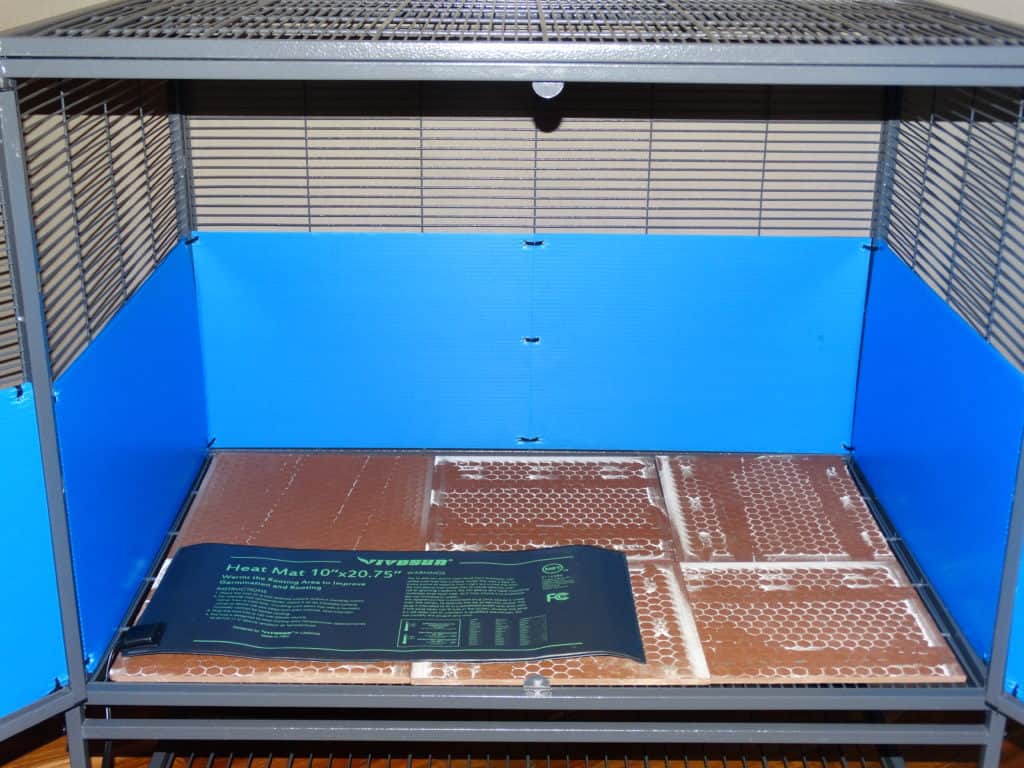
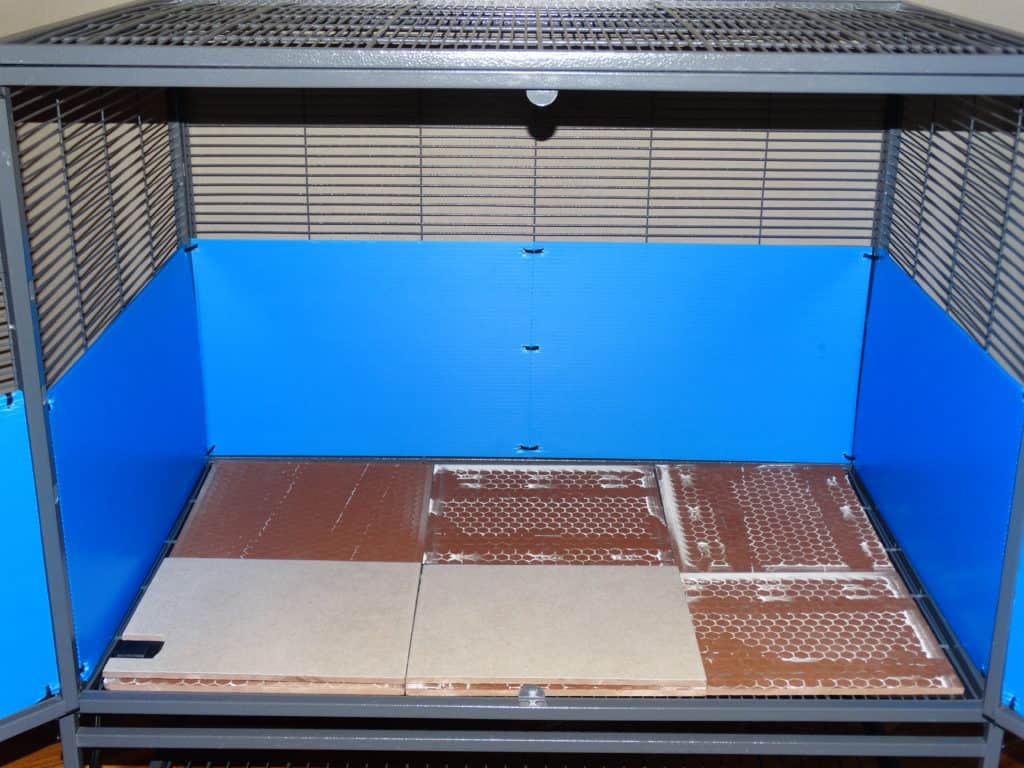
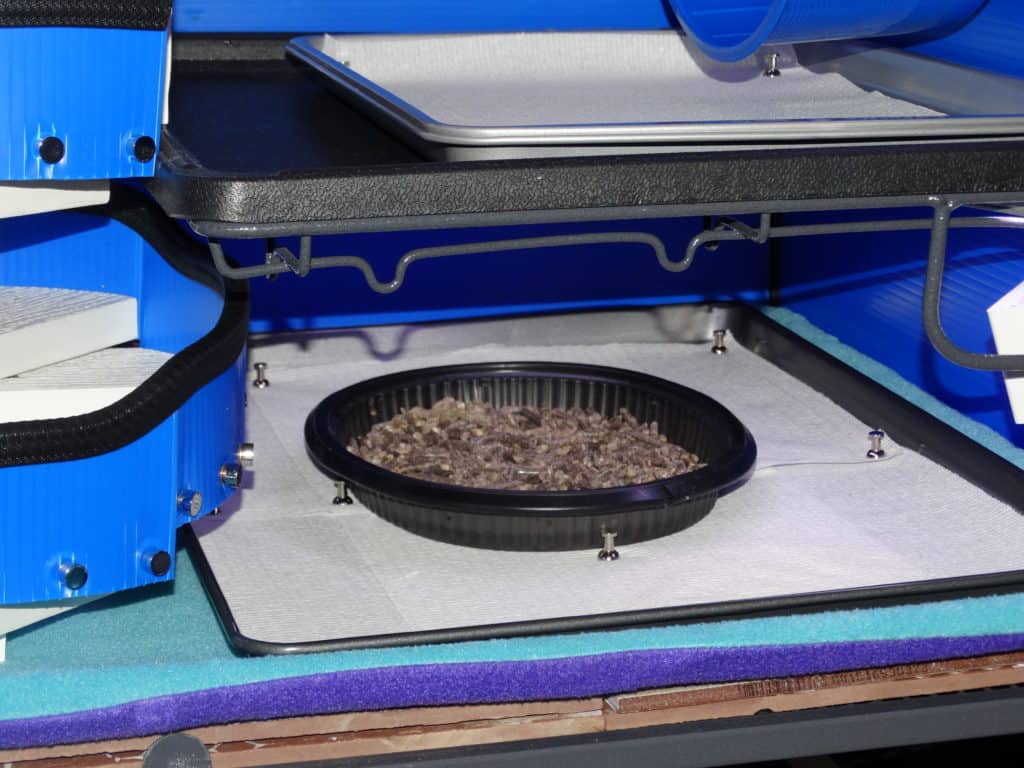
Every cage needs stable temperatures to keep a hedgehog from attempting hibernation. Here's where we installed a safe and energy-saving heating pad heat system. The system was designed by a mechanical engineer to be safe and energy efficient. The heating pad draws only 18 watts each versus 150 watts of a CHE. Let's dispel the myths about heating pads being unsafe. Not every heating pad that is manufactured is intended for extended use. Those heating pads that you buy to put on sore, achy muscles are made with thin wires that aren't intended to heat your hedgehog. It will short out and fail - placing your hedgehog into danger of hibernation. Or it could even cause a fire that injures your hedgie.
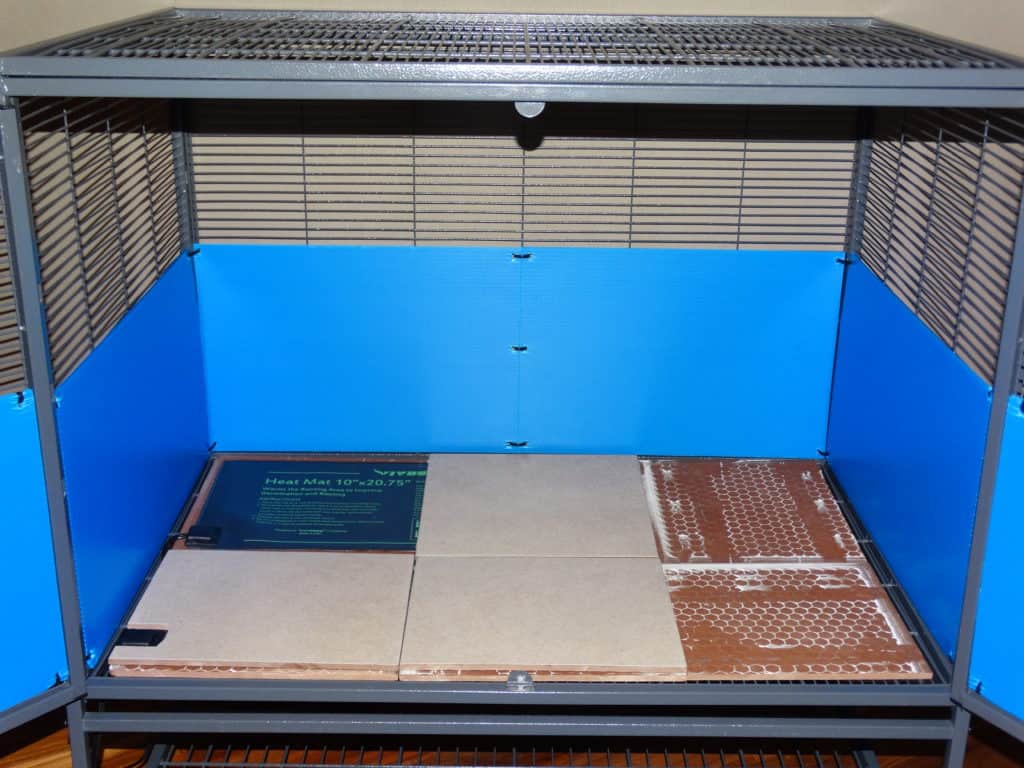
ANY heating pad used for a hedgehog cage heating system needs a fire block. If you purchase the correct type of heating pad and there's a manufacturer defect (which isn't likely), it's better to be safe than sorry. We used ceramic tiles as a fire block. The great thing about ceramic tiles is that they not only act as a fire block, but they also hold heat for awhile in the event of a power outage. We purchased 12″x12″ tiles and cut them to the size we needed because we could. If you don't have that ability, the tiles don't need to go from edge to edge. You can easily use 10″x10″ or 10″x11″ tiles. We also notched two of the tiles to prevent the power cord being pinched.
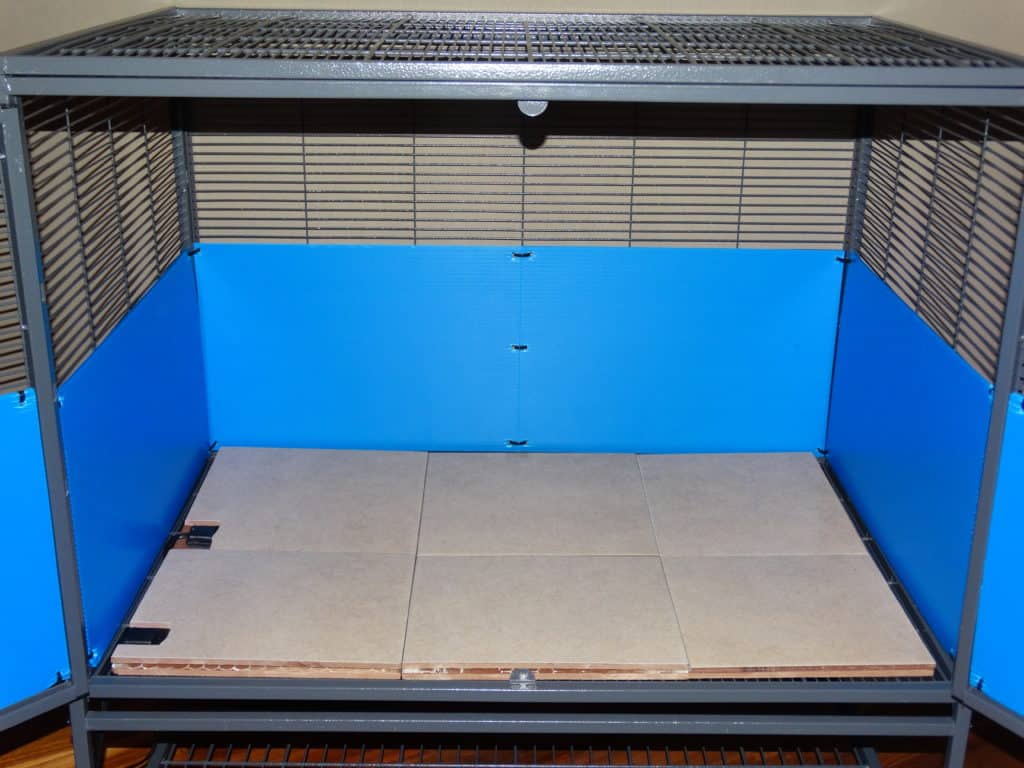
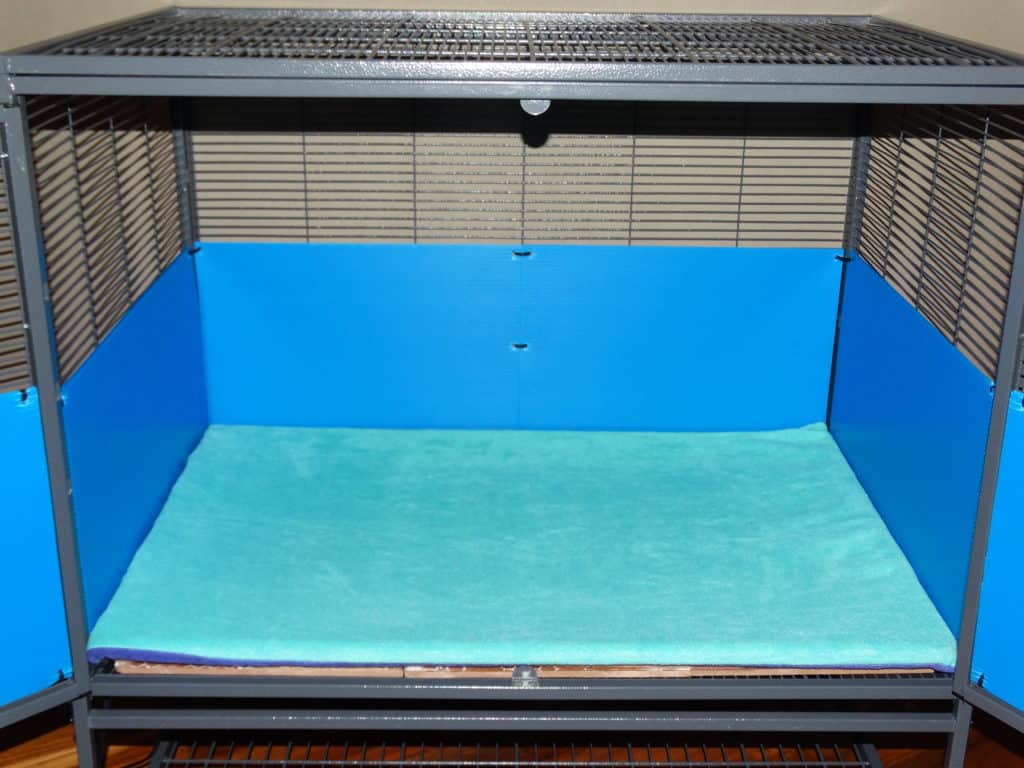
Progression Pictures of Our Heating System In The Critter Nation Cage
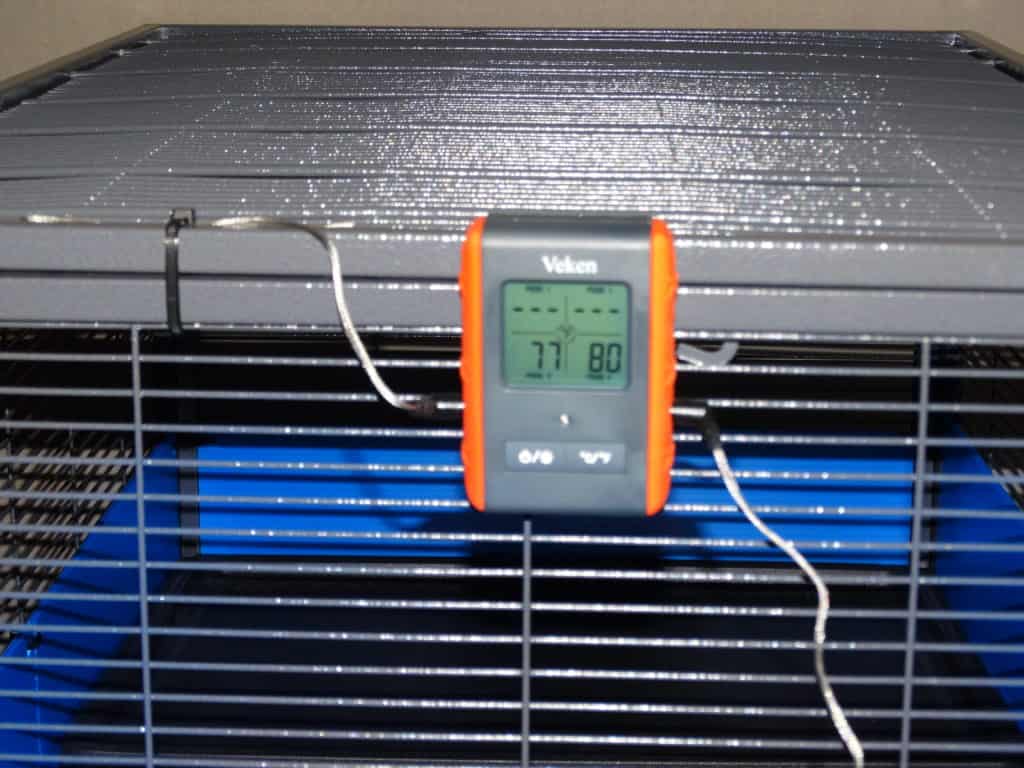
For the naysayers that claim a heating pad can't provide warmth to the ambient air around the hedgie, we say “Hogwash!” As you can see in the thermometer readings, there is only a 3°F difference between the temperature at the bottom of the cage versus the top of the cage. These temperatures are actual measurements taken in a house that is maintained between 74°F-75°F (23.3°C-23.8°C). Here's our list of the components that make up the heating system:
- Enough tiles to sandwich the heating pads
- Thermistors to control power when temp is reached
- Duct tape to afix the thermistor probes to the ceramic tiles above the heat pads
- A light and draft blocking cover to help insulate the cage (you can see it in pictures later)
- Seedling germination heat pads which are designed for far more demanding duty
- Separate 4-probe thermometer with a remote temperature monitoring unit
- Cable ties to fasten the wires in a manageable way
Consistent Lighting For Your Hedgehog
Providing a consistent cycle of daylight for 12-14 hours per day is strongly advised to help prevent your hedgehog from attempting hibernation. It isn't as crucial as consistent temperature, but it is important. As summer drifts into fall, and fall into winter, there are substantially less hours of natural light. Without artificial lighting, it can trigger your hedgie to instinctively try hibernation.
You will get a chance to see our lighting system when we give you the final snapshots of Quilly's cage. For now, we'll list what we used and how it's controlled.
- LED under-cabinet lighting strips for economical energy consumption
- Wiring connectors to link the lighting around the perimeter of the cage
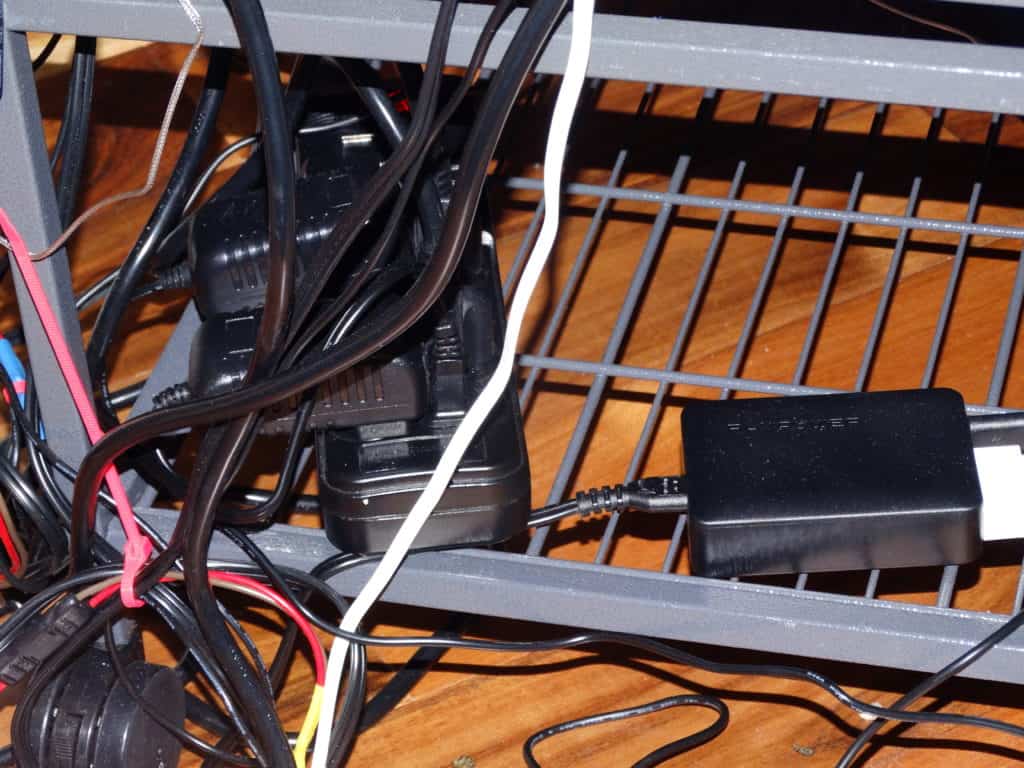
- A digital power strip with timer that allows scheduling power to the lights
- Aluminum lighting channel with covers to diffuse the light and give a finished look
- Cable ties to fasten the lighting channels to the upper roof of the hedgehog cage
A Way To Monitor Your Hedgehog
Let's face it, most of us have to be away from home earning a living each day. We're blessed to have a home office that we work out of, but it doesn't have enough room to put Quilly's cage in the same space. Since we like to be able to see him whenever we can't hold him, we installed a camera system. Admittedly, because Quilly has a bit of celebrity status, we have multiple cameras in his cage so that we can catch his cute antics to share with his fans. Certainly this is over the top for the average hedgie owner!
However, we strongly recommend every hedgie owner get at least one camera to monitor their hedgehog's activity in their cage - day and night. It will help you see behavior that's out of the ordinary for your hedgie. This can literally save their life! By setting it to record only motion, or motion and sound, you can see early warning signs. We've seen many hedgehog owners see the early symptoms of a UTI or URI, so they were able to get their hedgehog to the vet before the infection got out of control.
The Cameras We Chose For Quilly's Cage
We tried no less than TEN different cameras - all purchased on Amazon - before settling on the three best in terms of cost, quality, ease of setup, and ease of footage review. Not only are they wi-fi, but they have audio so we can talk to Quilly at any time, which also helps with bonding. All the others went back for not living up to their claims touted in the descriptions or for malfunctions. You'll see in our final pictures that we have five cameras on Quilly. Each of the cameras use a microSD card so we can review footage whenever it's convenient for us. These are the cameras and the USB power unit for them:
Lighting, Cameras, and Temperature Probes Installed
What will You Put In Your Hedgehog Cage?
Now that we've gotten past the mechanical systems of our hedgehog cage makeover, it's time to inspire creativity! As you've probably already figured out, we picked the color blue for Quilly. If you didn't know it already, hedgehogs are color blind, so it was really a matter of our own personal preference. We found a really convenient fitted tray cover that Velcros shut at the end for those of you who have liner divers. Here's our makeover reveal:
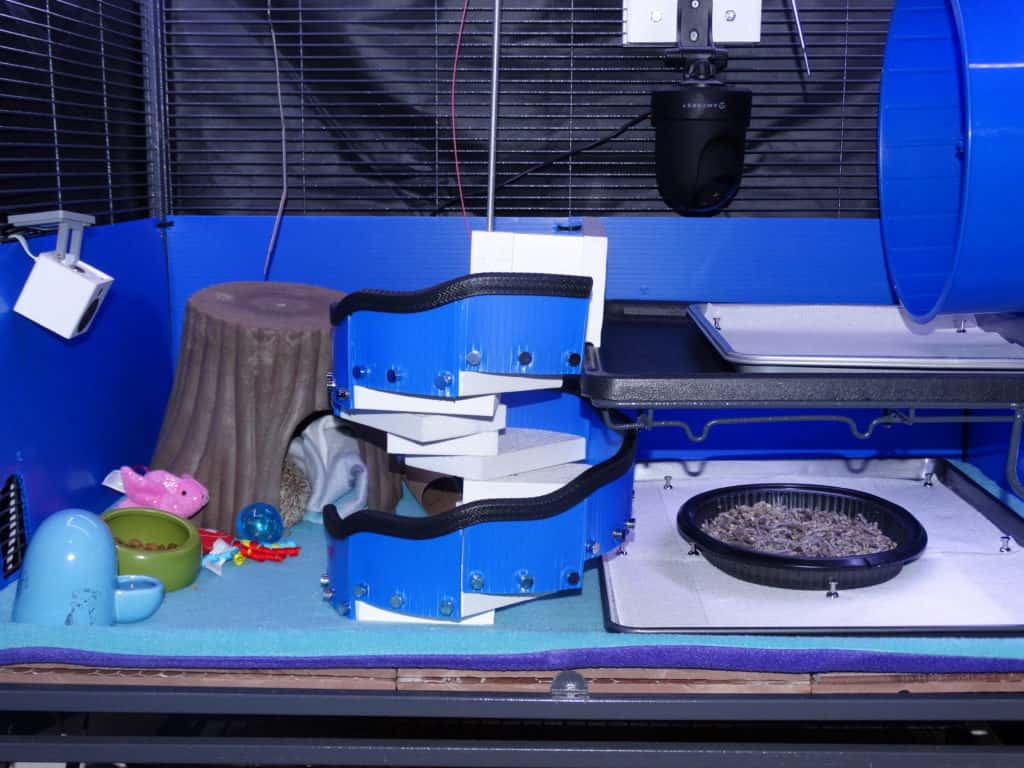
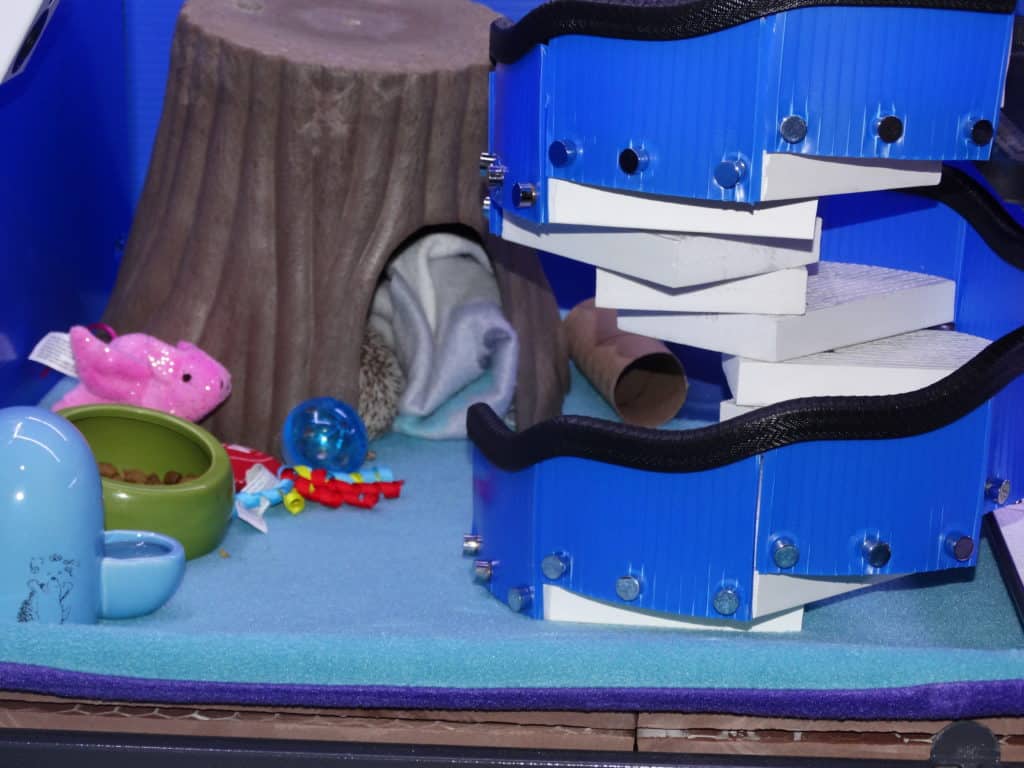
Now that you've seen how roomy the Critter Nation can be as a hedgehog cage, the question remains…what will YOU put in your hedgehog cage? Have fun with it and please share your pictures on our Facebook page. Also drop us a line if you want to know where we got anything else in the pictures that we haven't mentioned.
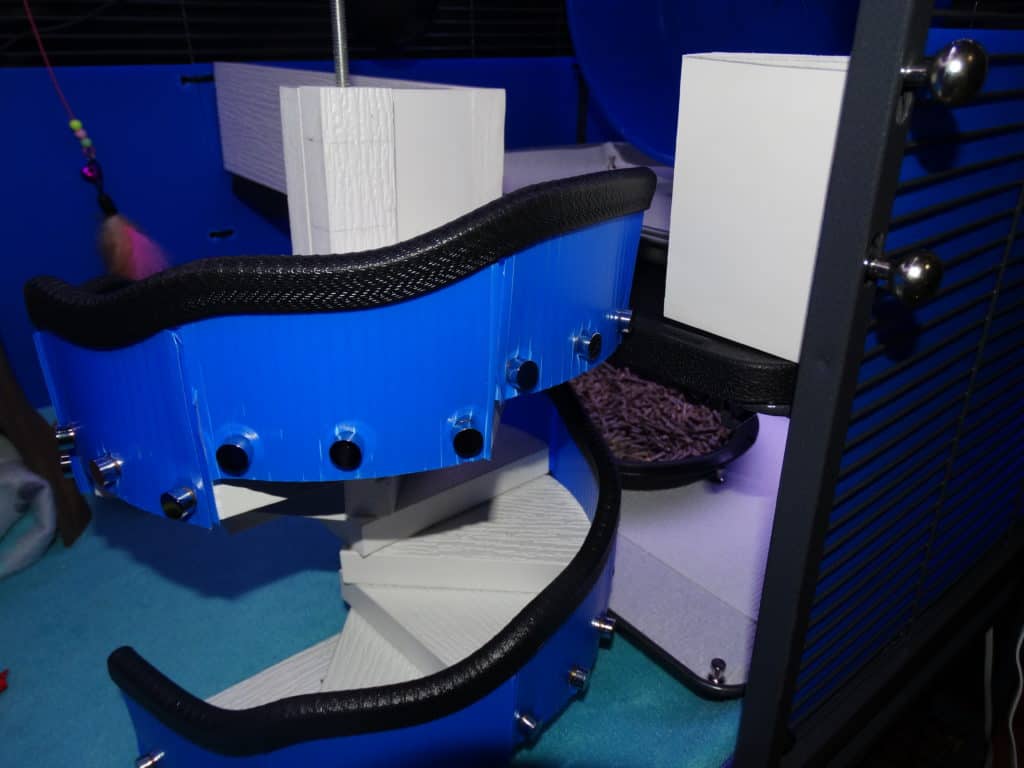
How To Make Your Own Spiral Staircase for Your Critter Nation Hedgehog Home
By popular request via email, here is how we made Quilly's spiral staircase. As forewarning, this is not an easy beginner project. If you do make a set, we'd love to show your version off on our site, so don't be shy. Send us a message on our contact form so we can send an address to send your pictures.
Here a list of what we used. Of course, there's always more than one way to do most anything, so at the end we have offered a simpler solution.
The tools we used are a drill press, a router table, and a screw gun.
These are the materials used for the spiral staircase:
- Coroplast for the railing (https://www.guineapigcagesstore.com/coroplast-on-sale)
- Automotive edging for the top edge of the coroplast (https://heavenlyhedgies.com/edge-trim)
- Decorative screws to attach the coroplast to each stair tread (https://heavenlyhedgies.com/decorative-screw-covers)
- A threaded rod for the central support (https://heavenlyhedgies.com/threaded-rod)
- Nuts that can embed into each tread and has the same thread pattern as the threaded rod (https://heavenlyhedgies.com/screw-nuts)
- PVC vinyl boards cut to 5.5″ wide (wood would work but would need to be thoroughly sealed)
- 2 small pieces of the PVC vinyl board cut-offs, 2 through-bolts, and 2 screw knobs (https://heavenlyhedgies.com/screw-knobs) (used to created a way to capture the central rod through the cage top which keeps the stairs from wobbling)
- A jig using a screw and board I created for getting the same routered radius on each tread
- Clamps for locking down stop blocks on the drill press table so that the hole for the center support was in the identical place on each tread
What we would do differently if we made another set of stairs:
We would toss the idea of the threaded rod and threaded nuts in each tread. It was a pain to screw each tread down a long length of threaded rod and frankly was overkill. Being a mechanical engineer, I tend to overthink things at times.
Instead I would use a wooden dowel rod, and drill the holes in the corner of each tread the same diameter as the dowel rod using the same stop block method on a drill press as directed above. To tie them in together, I would take a tread and put it on the dowel rod, and screw up through the underside of each tread into where the tread above overlaps. This would still be a stable structure because it would have the central rod, each tread screwed into the one above it, and the railing tying it all together. The coroplast wasn't so easy to use as a handrail because it resists curving. And heat just melts it, so you can't use a heat gun to make it form. I would use acrylic plexiglas instead because it will yield to heat.